Severity: Notice
Message: Undefined variable: pagecount
Filename: controllers/document.php
Line Number: 4926
Unlock these Enterprise features for free for 7 days:
Title: 8962 (2019)
Document ID: 0
Document Completed:
No Document History |
Title: 8962 (2019)
Document ID: 0
Document Completed:
No Document History |
The name of the person or company you'll enter will be used in the E-signature Agreement.
All signature fields must have an assigned signatory before the document can be sent for signing.
Please add signature fields and assign signatories before sending out the document.
The document will not be sent for signing.
Any changes to this document will require you to resend the document for signing.
All signatures on this document will be deleted and all signatories will be notified.
Document will only be sent to signatories who have not yet signed.
Copy the link
Your Session is already expired. Please login.
Form 8962, officially the Premium Tax Credit (PTC), is an Internal Revenue Service (IRS) form used to calculate the amount of premium tax credit you’re eligible to claim if you paid premiums for health insurance purchased through the Health Insurance Marketplace.
This calculation is important because it determines whether or not you owe money to the IRS. If the amount of advanced premium tax credit received exceeds the amount of the premium tax credit you’re eligible to claim, you owe money back to the IRS. On the other hand, if the advanced premium tax credit received is less than the premium tax credit you’re eligible to receive, then the IRS owes you.
You are only eligible to file Form 8962 if:
Form 8962 consists of five parts.?You will need Form 1095-A to complete each section of the form, as well as your Form 1040 showing your modified adjusted gross income.
At the top of the form, provide your full legal name and Social Security Number.
Annual and monthly contribution amount
Line 1
Enter the number of exemptions from Form 1040 or Form 1040A.
Lines 2a & 2b
Enter the amounts related to modified Annual Gross Income (AGI).
Line 3
Input the household income by adding the amounts on lines 2a and 2b.
Line 4
Select the appropriate choice and enter the value.
Line 5
Enter Household income as a percentage of the federal poverty line.
Line 6
If you entered 401% on line 5, then proceed to line 7. If not, then select yes.
Line 7
Input the applicable figure.
Line 8a
Provide the annual contribution amount by following the method shown.
Line 8b
Provide the monthly contribution amount by following the method shown.
Premium Tax Credit Claim and Reconciliation of Advance Payment of Premium Tax Credit
Line 9
Mark Yes and skip to Part IV or Part V if the below-mentioned conditions apply to you. If not, Mark No and continue to Line 10.
i. You received a Form 1095-A for the policy that does not accurately represent the members of your tax family who were enrolled in the policy, or
ii. The other tax family received a Form 1095-A for the policy that includes a member of your tax family.
Line 10
Select the appropriate choice by referring to Form 1095-A.
If you were enrolled in a qualified health plan for fewer than 12 months during 2019, check the "No" box and continue to lines 12 through 23.
Check the "Yes" box and continue to line 11 if all of the following apply for each qualified health plan you or a member of your tax family was enrolled in for 2019.
Otherwise, check the "No" box and continue to lines 12 through 23.
Line 11
Fill the annual totals for the empty fields under each column.
Lines 12 to 23
Provide the monthly amounts under each column.
Line 24
Input the total premium tax credit.
Line 25
Input the Advance payment of PTC by following the method shown.
Line 26
Input the Net premium tax credit by following the method shown.
Repayment of Excess Advance Payment of the Premium Tax Credit
Line 27
Input the Excess advance payment of PTC.
Line 28
Enter the Repayment limitation based on certain conditions. If the amount on Form 8962 Line 5 is:
Line 29
Enter the Excess advance premium tax credit repayment.
Allocation of Policy Amounts
Lines 30 to 33
a. Provide all the shared policy allocations.
b. Enter the marketplace assigned Policy Number.
c. Enter the Social Security Number of the other taxpayer with whom you are allocating policy amounts.
d. Enter the first month you are allocating policy amounts.
e. Enter the last month you are allocating policy amounts.
f. Enter the Premium Percentage as a decimal rounded to two places.
You will only input in this column if:
In all other situations, leave this column blank because you do not allocate the applicable SLCSP premium reported in those situations
g. Enter the SLCSP Percentage as a decimal rounded to two places.
Input on this column, if your allocation situation requires you to allocate the APTC on Form 1095-A, lines 21 through 32, column C. Otherwise, leave it blank.
h. Enter the Advance Payment of the PTC Percentage.
Line 34
Select the appropriate choice that applies to your allocation situation.
Refer to your Forms 1095-A, if you have completed your required allocations of policy amounts shown on using lines 30 through 33, check the "Yes" box. If you must make more than four allocations of policy amounts, check the "No" box and attach a statement providing the information shown on lines 30 through 33, columns (a) through (g) for each additional allocation.
Alternative Calculation for Year of Marriage
This portion is optional, but this may reduce the amount of excess APTC you must repay. To be eligible to make this election, you must meet either of the following conditions.
Line 35
Enter all the Alternative entries for your SSN on the respective fields: (a) alternative family size, (b)alternative monthly contribution amount, (c) alternative start month, and (d)alternative stop month.
Line 36
Enter all the Alternative entries for your spouse's SSN on the respective fields: (a) alternative family size, (b)alternative monthly contribution amount, (c) alternative start month, and (d)alternative stop month.
Mail the Form 8962 along with your Form 1040 to the IRS regional office that covers your state of residence, if you’re filling out a paper tax return.
If you’re filing your taxes online, you should be able to complete Form 8962 through the tax filing software program you’re using.
PDFRun is an online PDF editor platform that enables its users to find, edit, electronically sign, download, and share forms and documents anytime and anywhere, using any device.
With a cloud-based archive of thousands of forms and documents, it fast-tracks the document management processes of many professionals and businesses of different sizes, across many industries.
Through its user-friendly and easy-to-navigate interface, users may also upload their own files to fill out, edit, convert, e-sign, and share to multiple recipients to request signatures.
PDFRun streamlines document management processes, improves documentation workflows, and enhances its users’ efficiency, resulting in better productivity and an increase in work output.
1-888-245-8984
Monday - Friday
7:00AM to 4:00PM PST
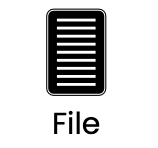
Use the File button to access functions such as New PDF, New Page, Organize Pages, Save, Save As, Print, Export, Share Link, Email, and Postal Mail.
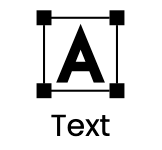
Use the Text button to add texts, numbers, and symbols to your document. To customize the texts, you will be able to access additional tools, such as the Bold, Italics, Underline, and Strikethrough buttons, the text alignment options, such as Left, Center, Right, and Justified buttons, the Bulleted List and Numbered List buttons, the Font Styles and the Font Sizes drop-down lists, and the Font Color and Font Highlight Color selection tools.
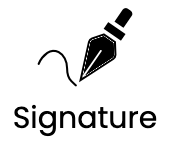
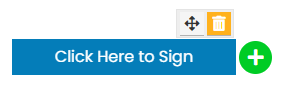
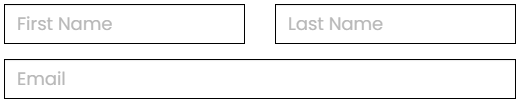
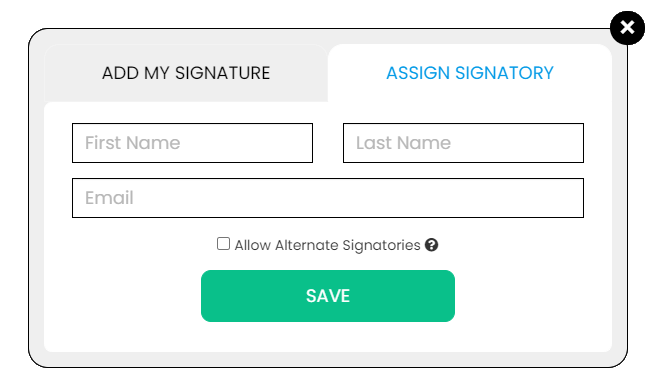
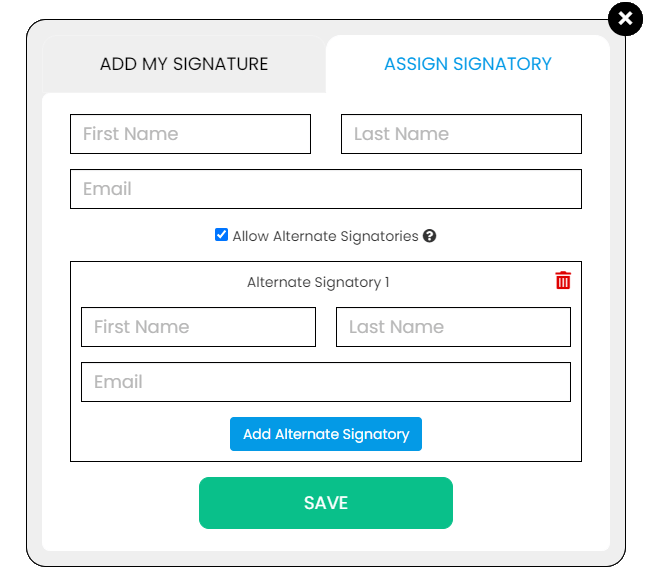
Use the Signature button to add a signature to your document and to assign a signatory. You will have the option to Type, Draw, or Upload your signature.
Use the Image button to add an image, logo, or photo to your document. The accepted formats are .jpg, .jpeg, and .png.
Use the Date button to add a date to your document. The default date format is MM/DD/YYYY, but you can modify it by typing the date format you prefer. Initially, it will display the current date, but you will be able to change it. To customize the date, you will be able to access additional tools, such as the Move text button, the Font Styles and the Font Sizes drop-down lists, the Bold, Italics, and Underline buttons, and the text alignment options, such as Left, Center, Right, and Justified buttons.
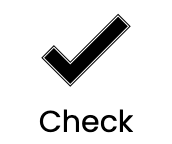
Use the Check button to add a check symbol to your document. To customize the check symbol, you will be able to access the Size adjustment tool.
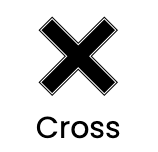
Use the Cross button to add a cross symbol to your document. To customize the cross symbol, you will be able to access the Size adjustment tool.
Use the Whiteout button to white out or erase items in your document.
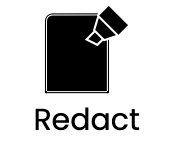
Use the Redact button to censor items in your document.
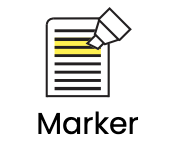
Use the Marker button to highlight items in your document. To customize the marker, you will be able to access the Color selection and Size adjustment tools.
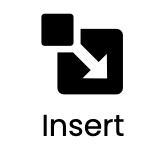
Use the Insert button to add Icons, Header, Footer, Watermark, Comment, and Sticky Note to your document. The Icons button allows you select shapes such as Arrow Left, Arrow Right, Arrow Up, Arrow Down, Thumbs Up Thumbs Down, Question Mark, Exclamation Point, Circle, and Square; the Header button allows you to add a header; the Footer button allows you to add a footer; the Watermark button allows you to add a watermark by typing or uploading an image; the Comment button allows you to leave a comment in any part of the document; the Sticky Note allows you to post a note to any part of the document.
Use the Zoom button to zoom in and zoom out your document.
Use the Undo button to negate the last command done to your document.
Use the Redo button to reverse your last Undo.
Use the Help button to read instructions about how to use PDFRun’s online editor.
Use the Send for Signing button when you are done editing your document and you want to send it to another person for signing. You will need to provide the information of the recipient of your document to proceed.
Use the Email button when you are done editing your document and you want to send it to another person via email. You will need to provide the information of the recipient of your document to proceed.
Use the Download button when you are done editing your document and you want to save a copy of it to your device.
Use the Done button to finish editing your document.